
Import the image, select it, open Path › Trace Bitmap (Shift+Alt+B), use Single scan for a one-colour logo or Multiple scans › Colors for colour, click Apply, delete the original image and save as Plain SVG.
Inkscape is a free vector editor, and its Trace Bitmap tool converts a bitmap, also called a raster image (a PNG, JPG or other pixel image), into vector shapes you can save as SVG. It takes a little tuning, but it costs nothing and the result is a normal SVG you can edit, cut or print. These steps are for Inkscape 1.x on Windows, macOS and Linux.
What does “bitmap to vector” mean in Inkscape?
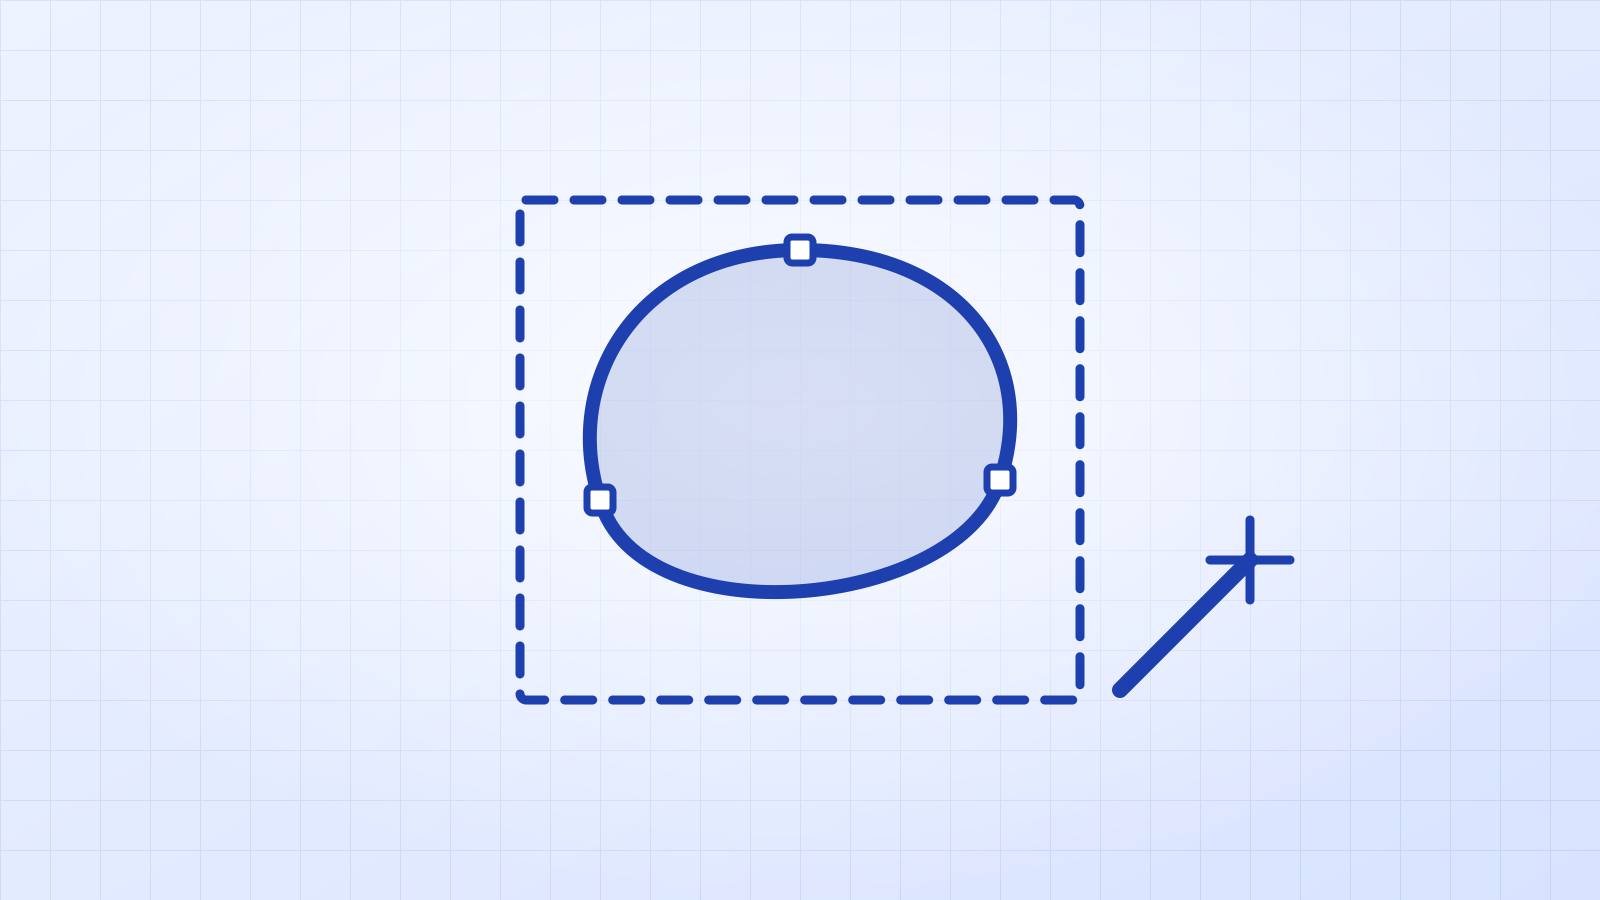
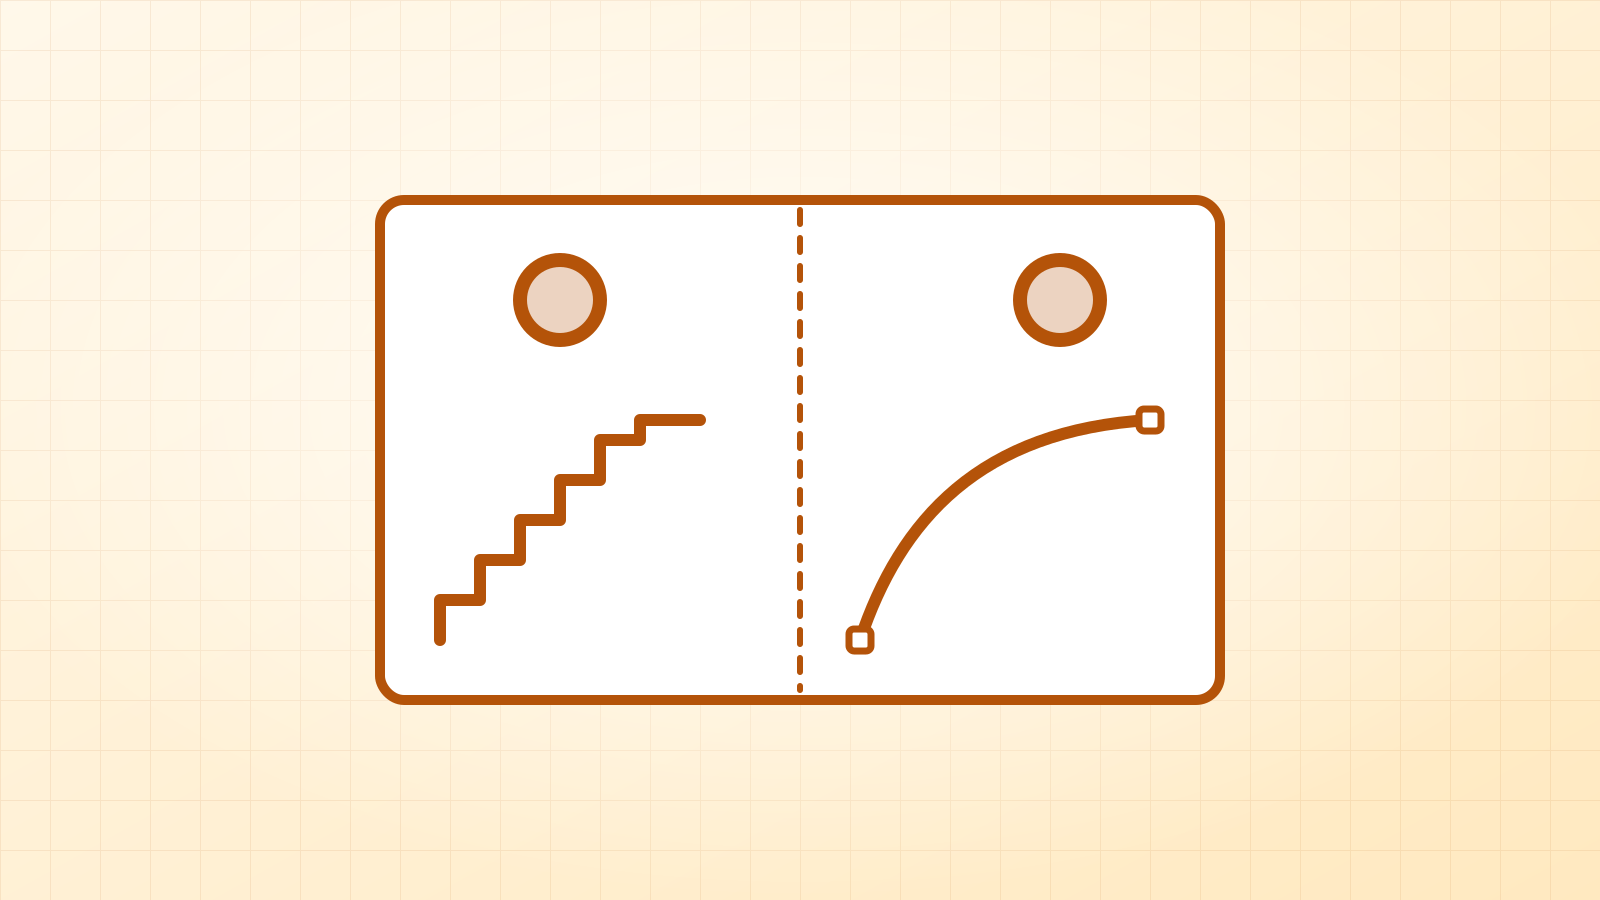
A bitmap is a grid of pixels; a vector is a set of shapes. Inkscape calls tracing a bitmap into shapes Trace Bitmap. It doesn’t change your original picture: it creates a new vector object on top of it, which you keep and the bitmap you delete.
| Your image | Trace Bitmap mode | Result |
|---|---|---|
| One-colour logo, text, cut file | Single scan › Brightness cutoff | One black shape |
| Line drawing or sketch | Single scan › Centerline (or Brightness cutoff) | Strokes or thin shapes |
| Logo or clip art with a few colours | Multiple scans › Colors (3–8 scans) | One shape per colour |
| Photo | Multiple scans › Colors (8–16 scans) | Posterized colour areas |
Step 1: import the image
- Open Inkscape and use File › Import (Ctrl+I, or Cmd+I on a Mac). Choose your PNG or JPG.
- In the import dialog, Embed is fine. Click OK.
- Click the image once to select it. A small image traces lumpy; if you have a bigger version, use that.
Step 2: open Trace Bitmap
Go to Path › Trace Bitmap (Shift+Alt+B, or Shift+Option+B on a Mac). The dialog has two tabs, Single scan and Multiple scans, and a live preview so you can see the result before applying it.
For a one-colour logo or cut file: Single scan
- Detection mode: Brightness cutoff.
- Threshold: lower it if thin lines vanish, raise it if gaps between letters fill in.
- Tick Smooth corners and Optimize, and set Speckles to a few pixels to drop dust and JPEG noise.
For colour: Multiple scans
- Detection mode: Colors, and set Scans to the number of colours in your design.
- Untick Stack if you plan to cut it (each colour then becomes its own separate shape), and tick Remove background to drop the background colour.
- Keep Smooth, Smooth corners, Optimize and a few px of Speckles on.
Use the preview in the dialog, then click Apply.
Does saving a PNG as SVG make it a vector?
No, and this is the most common Inkscape mistake. If you import a PNG and save straight away, the SVG only contains the same pixels, so it still blurs when enlarged. You must trace it first and delete the original image.
To check, switch to View › Display Mode › Outline. Real vector shapes appear as thin outlines. A leftover image shows as an empty box with a cross through it.
Which Trace Bitmap settings matter most?
| Setting | What it does | Try |
|---|---|---|
| Threshold (single scan) | Which pixels count as “ink” | 0.40–0.60 for dark logos on white |
| Scans (multiple scans) | How many colours or grey levels | The number of colours you really have |
| Speckles | Ignores spots smaller than this | 2–10 px; higher for noisy JPGs |
| Smooth corners | Rounds sharp pixel corners into curves | On; lower it for crisp logos |
| Optimize | Merges path segments into fewer nodes | On (0.2–0.5) |
Step 3: clean up
- The trace lands exactly on top of the original. Click it and drag it aside, then select the original image and delete it.
- Multiple-scan traces come as a group: Object › Ungroup (Shift+Ctrl+G) to recolour or remove single colours.
- Zoom in and delete stray specks with the Selection tool.
- For cutting machines, combine one-colour pieces with Path › Union so they cut as one shape.
Step 4: save as SVG
Use File › Save As and choose Plain SVG. Plain SVG leaves out Inkscape’s extra data, which keeps the file small and makes it open cleanly in Cricut Design Space and other apps. Before saving, Edit › Resize Page to Selection (Shift+Ctrl+R) trims the empty space around the design.
Can Inkscape convert a photo to vector?
Yes, with Multiple scans › Colors, but expect a poster effect: the photo becomes flat areas of colour. 8–16 scans with a few px of Speckles usually looks best. For realistic photos, keep the original image; vectors suit logos, lettering, clip art and illustrations.
Common problems
| Problem | Fix |
|---|---|
| Thousands of tiny shapes | Fewer scans, more Speckles, a cleaner source |
| Bumpy curves, wobbly straight lines | Start from a bigger image; lower Smooth corners for logos |
| Thin lines disappear | Lower the Threshold |
| A white box behind the design | Tick Remove background, or delete the background shape |
| Nothing seems to happen | The trace sits exactly on the original: drag it aside |
| Inkscape asks you to select an image | Click the image itself; if it is inside a group, ungroup it first |
| The SVG still blurs when enlarged | The original image is still in the file: delete it, or trace it if you skipped that step |
When Trace Bitmap struggles
Trace Bitmap follows the pixels closely, so a small or blurry image gives bumpy curves, and straight lines rarely come out dead straight. Colour traces of JPGs often produce extra shapes from compression noise. In those cases, Vectacle is worth a try: its AI cleans up the picture before tracing, so you don’t have to tune the settings. It’s free too, and it runs in your browser. Zoom in on the result and keep whichever trace looks cleaner.


For quick fixes without installing anything, the free SVG editor deletes stray shapes, recolours and adds text in your browser.
Questions
Is Inkscape free?
Yes. Inkscape is free, open-source software for Windows, macOS and Linux.
How do I convert a bitmap to a vector in Inkscape?
Select the imported bitmap (PNG or JPG), open Path › Trace Bitmap, choose Single scan or Multiple scans, adjust the settings with the live preview, and click Apply. The vector appears on top of the bitmap.
Can Inkscape vectorize an image?
Yes. Its Trace Bitmap tool turns a raster image such as a PNG or JPG into vector shapes, for free.
Does saving a PNG as SVG in Inkscape make it a vector?
No. Importing a PNG and saving as SVG only wraps the same pixels in an SVG file. You need to run Trace Bitmap first, delete the original image, and then save.
Can Inkscape turn a photo into a vector?
Yes, with Multiple scans › Colors, but a photo becomes many flat colour areas, not a clean illustration. Use 8–16 scans for a poster look, and keep the original photo for anything realistic.
Why does my trace sit on top of the original image?
Trace Bitmap creates the vector as a new object on top of the picture. Drag it aside or delete the original image underneath.
Single scan or multiple scans?
Single scan gives one black shape: best for one-colour logos and cut files. Multiple scans with Colors gives one shape per colour: best for coloured logos and clip art.
Sources: Inkscape tutorial: Tracing bitmaps · Inkscape Beginners’ Guide: Tracing an image