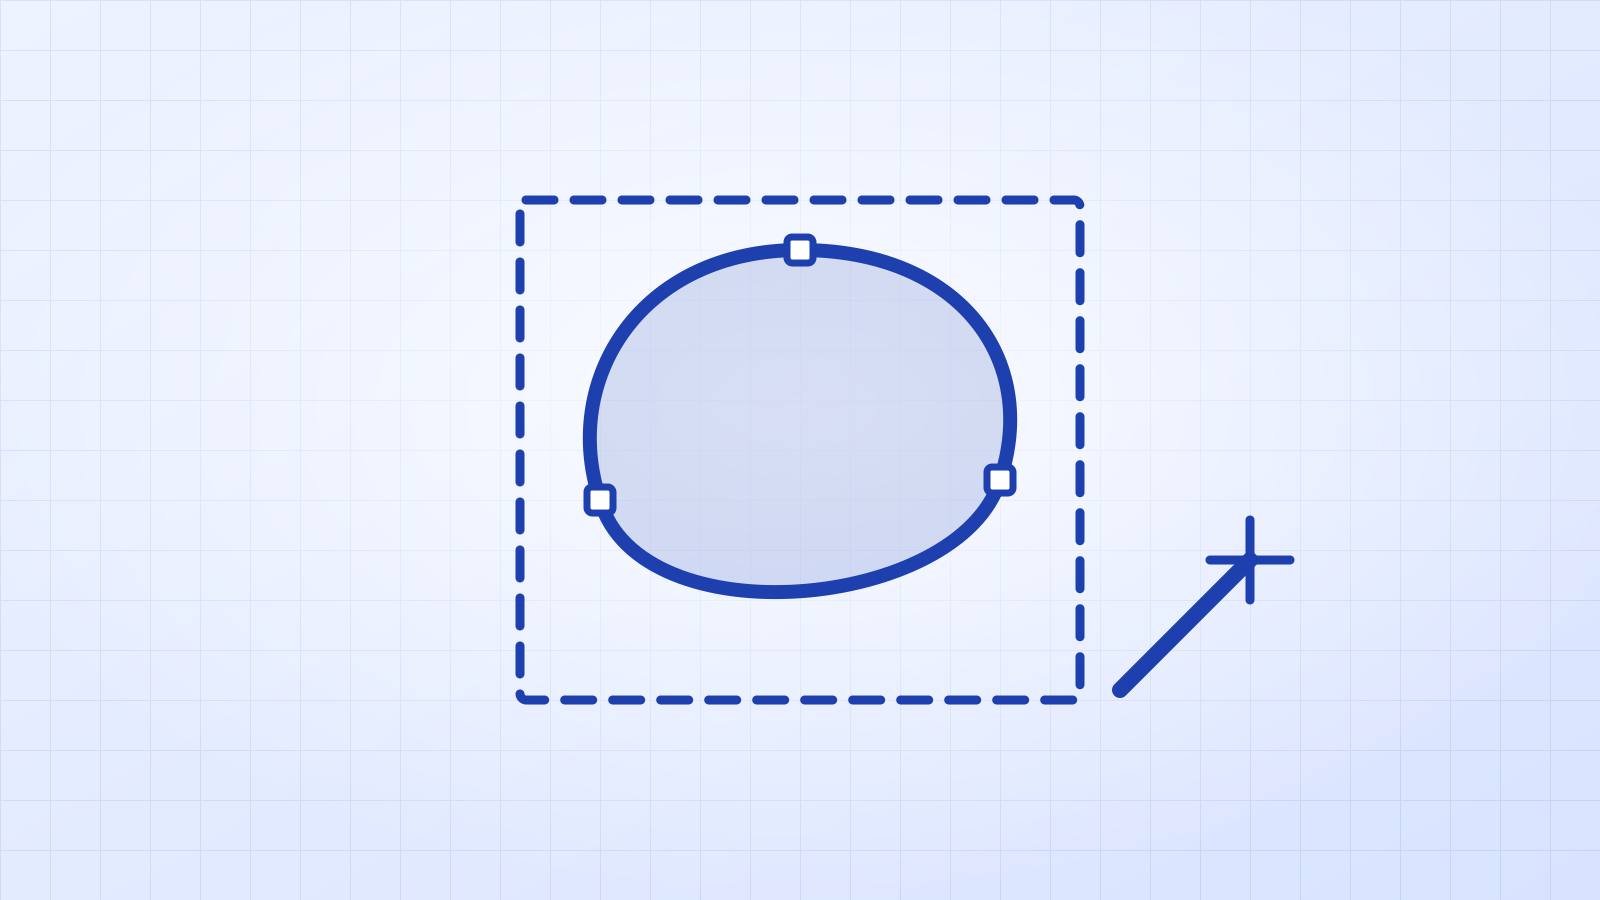

Select the image, open Window › Image Trace, pick a preset (Black and White Logo for one colour, 6 or 16 Colors for colour), adjust Colors, Paths, Corners and Noise with Preview on, tick Ignore White, then Expand and save as SVG.
Adobe Illustrator can turn a picture made of pixels (a PNG or JPG) into vector shapes with a feature called Image Trace. Once traced, the design scales to any size without going blurry, and you can save it as an SVG, EPS or PDF. Here is the whole process, the settings that actually change the result, how to prepare the file for a Cricut, and the mistakes that leave you with thousands of messy shapes.
Which images vectorize well in Illustrator?
Tracing works best on images with clear edges and flat colours: logos, lettering, icons, stickers and clip art. Use the largest, sharpest version you have. A 300-pixel logo cut from a website will trace with lumpy edges; a 2,000-pixel one will trace cleanly. Photos can be traced too, but they turn into a patchwork of colour blobs rather than a clean vector.
Step 1: place the image
- Create a new document, then go to File › Place and choose your PNG or JPG. Click on the artboard to drop it in.
- Select the image with the Selection tool (V).
Step 2: open the Image Trace panel
Go to Window › Image Trace. The panel lets you preview and adjust the trace before you commit to it, which is much better than clicking the quick “Image Trace” button in the toolbar and hoping for the best. Tick Preview at the bottom of the panel so changes show up straight away. Adobe describes every option in Image Trace panel options.
Which Image Trace preset should I use?
| Your image | Preset to start from |
|---|---|
| One-colour logo, text, a cut file | Black and White Logo |
| Logo or clip art with a few flat colours | 3 Colors, 6 Colors or 16 Colors |
| Drawing or sketch made of lines | Line Art or Sketched Art |
| Solid shapes you want as one fill | Silhouettes |
| Photo | Low Fidelity Photo (High Fidelity makes huge files) |
Which Image Trace settings matter most?
| Setting | What it does | Good starting point |
|---|---|---|
| Mode | Color, Grayscale or Black and White | Match your design |
| Colors (colour modes) | How many colours the trace may use | The number your design really has |
| Threshold (black and white) | Which pixels count as “ink” | Lower if thin parts vanish, raise if letters fill in |
| Paths (Advanced) | How tightly outlines follow the pixels | Lower for smoother, simpler curves |
| Corners (Advanced) | How readily curves turn into sharp corners | Higher for logos with crisp corners |
| Noise (Advanced) | Smallest area traced, in pixels | 10–25 px to ignore specks and JPEG fuzz |
| Ignore White (Advanced) | Leaves white areas out of the trace | On for logos on a white background |
Zoom in to 200–400 % while you adjust. Wobbly straight lines and bumpy curves are easy to miss at 100 %.
Step 3: expand the trace
A trace stays “live” until you expand it. Choose Object › Image Trace › Expand (or click Expand in the Control bar). Now the design is made of normal vector paths. Right-click and choose Ungroup if you want to edit or recolour single shapes, and delete any stray white shapes you didn’t catch with Ignore White: select one and use Select › Same › Fill Color to select them all, then delete.
How do I prepare the trace for Cricut or Silhouette?
- For a one-colour cut, select all the shapes and click Unite in the Pathfinder panel (Window › Pathfinder), so the design cuts as one piece.
- For layered vinyl, keep one group per colour: select a shape, Select › Same › Fill Color, then Object › Group. Each group becomes a layer in Design Space.
- Fit the artboard to the design: Object › Artboards › Fit to Artwork Bounds, so the file has no empty margins.
Step 4: save as SVG
Use File › Save As and pick SVG, or File › Export › Export As › SVG. For Cricut and Silhouette Designer Edition, the default settings are fine.
Why does my Illustrator trace look messy?
| Problem | Likely cause | Fix |
|---|---|---|
| Thousands of tiny shapes | Too many colours, too little Noise | Lower Colors, raise Noise, use a cleaner source |
| Straight lines come out wavy | Small or blurry source; Paths too high | Start bigger; lower Paths, raise Corners |
| Thin slivers along every edge | Soft edges traced as extra colours | Fewer colours; raise Noise |
| Text looks melted | Small type in a small image | Bigger source, or retype the words in the font |
| White box behind the design | White traced as a shape | Ignore White before expanding |
More on why traces explode into shapes: why does my SVG have so many shapes?
Can I vectorize an image without Illustrator?
Yes. Illustrator needs a paid subscription. If you only need the SVG, Vectacle’s PNG to SVG converter does the tracing in your browser: it fits straight lines, arcs and corners as real geometry, merges JPEG noise, can remove the background, and keeps smooth gradients as true SVG gradients. Your image isn’t stored. The free desktop alternative is Inkscape: see how to vectorize in Inkscape.


No Illustrator? For quick fixes, the free SVG editor deletes stray shapes, moves, recolours and adds text in your browser.
Questions
Which Image Trace preset is best for a logo?
Start with Black and White Logo for a one-colour logo, or 6 Colors / 16 Colors for a coloured one. Then fine-tune Colors, Paths, Corners and Noise in the Image Trace panel.
Why is the Expand button greyed out?
Expand only works on a traced object. Select the traced image (not the original placed image) and make sure Image Trace has finished; then use Object › Image Trace › Expand.
How do I get rid of the white background after tracing?
Before expanding, open Advanced in the Image Trace panel and tick Ignore White. If you already expanded, ungroup and delete the white shapes, or select one and use Select › Same › Fill Color to delete them all at once.
Can I vectorize an image without Illustrator?
Yes. Free options include Inkscape’s Trace Bitmap and browser tools such as Vectacle, which fits real lines and curves and can remove the background for you.