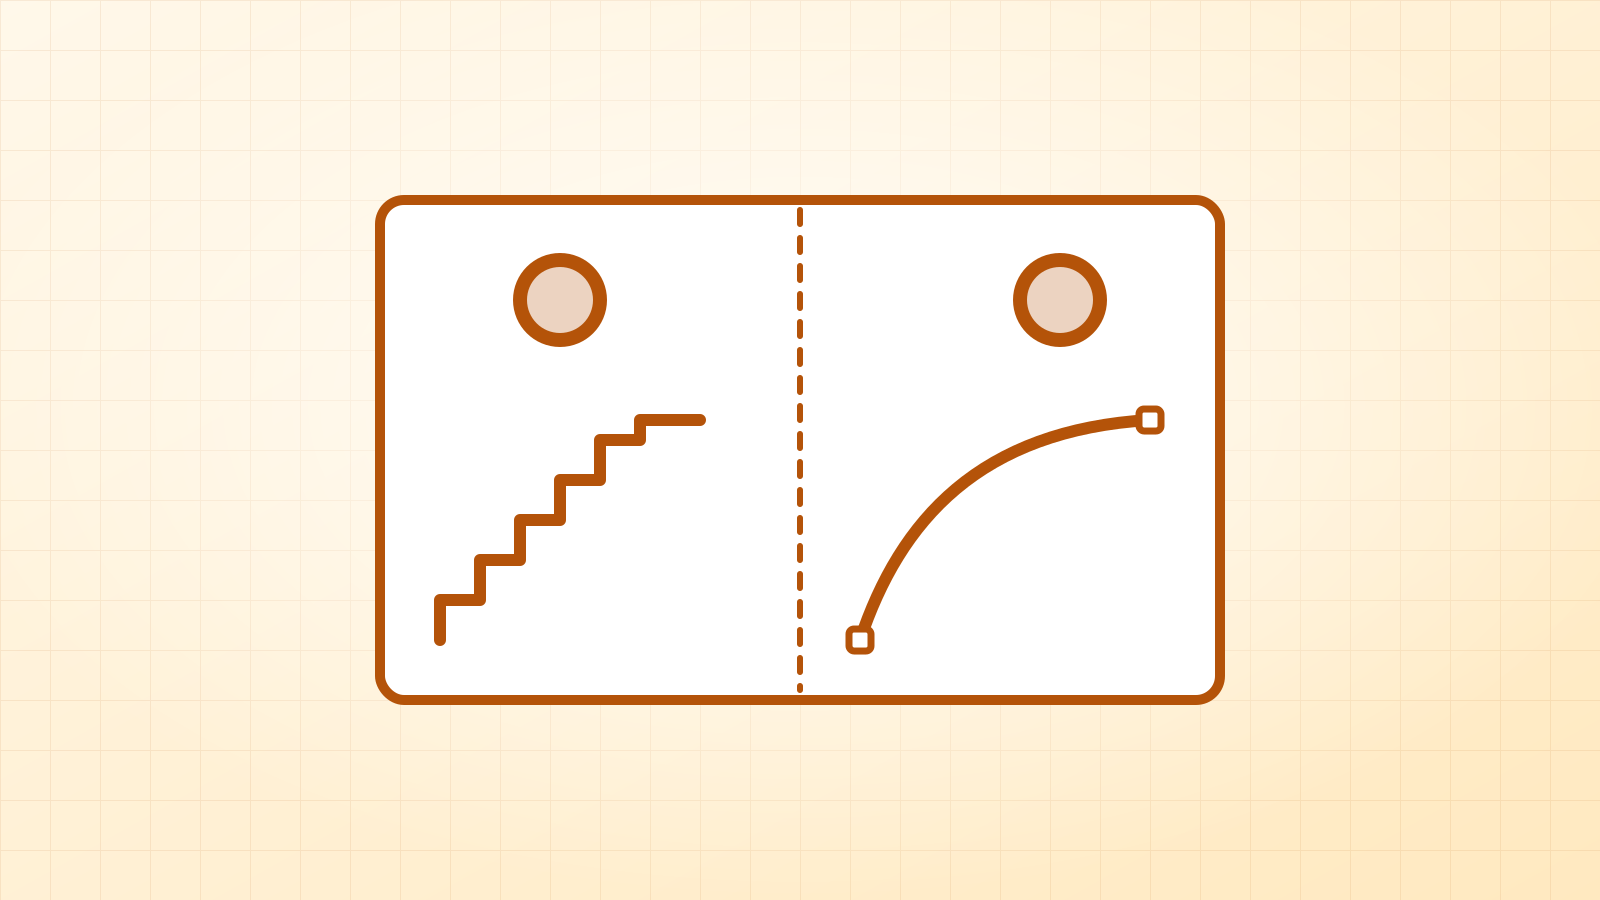

Photoshop has no Image Trace. Select the shape (Select › Color Range), use Make Work Path in the Paths panel (tolerance 1–2 px), and export it with File › Export › Paths to Illustrator. It works for one-colour shapes; for colour designs, use a tracing tool.
Photoshop works with pixels, so it has no one-click way to turn a picture into vector shapes. It does have paths, though, and you can build paths from a selection. That’s enough to vectorize a simple one-colour logo or silhouette. Here is the method step by step, how to handle a logo with several colours, and an honest look at where it stops working.
Can Photoshop vectorize an image?
Partly. Photoshop has no Image Trace (that’s an Illustrator feature), but it can turn a selection into a vector path, and a path can become a vector shape layer. Adobe documents the selection-to-path step in Convert between paths and selection borders.
| Your image | Photoshop result |
|---|---|
| One-colour logo, silhouette, icon | Good, with a clean, high-contrast source |
| Logo with 2–4 flat colours | Possible, one path per colour, by hand |
| Lettering and small text | Rough: paths round off small details |
| Illustrations, gradients, photos | Not practical |
Step 1: open the image and select the shape
- Open your PNG or JPG in Photoshop. If it’s small, enlarge it first (Image › Image Size, Preserve Details) so the edges have more pixels to follow.
- Select the part you want as a vector. For a dark logo on a light background, Select › Color Range works well: click the logo colour, raise Fuzziness until the edges are fully included, and click OK. Select › Subject or the Magic Wand (W) also work for simple shapes.
- Check the edges at 200 % zoom. Use Select › Modify › Smooth (1–2 px) if they look jagged.
Step 2: turn the selection into a path
- Open the Paths panel (Window › Paths).
- From the panel menu, choose Make Work Path and set the Tolerance to about 1.0–2.0 pixels.
- The marching ants become a vector outline. Double-click Work Path and save it with a name so you don’t lose it.
Which Make Work Path tolerance should I use?
| Tolerance | Effect | Use for |
|---|---|---|
| 0.5 px | Follows every pixel step; many anchor points; bumpy curves | Rarely useful |
| 1.0–2.0 px | Smooth curves, corners mostly kept | Most logos |
| 3 px and up | Very smooth, fewer points; corners and thin parts get rounded | Big, simple blobs |
Step 3: make it a shape (optional)
With the path selected, choose Layer › New Fill Layer › Solid Color. Photoshop creates a fill layer clipped by your path, which is a vector shape: it stays sharp when you scale it up, and you can change its colour any time.
How do I vectorize a logo with several colours in Photoshop?
Repeat steps 1–3 once per colour: select colour one, make a path, make a fill layer; then colour two, and so on. Stack the fill layers in the same order as in the original. It works, but every colour boundary is traced twice (once by each neighbour), so tiny gaps or overlaps along the edges are common. Expect to touch them up.
Step 4: get the vector out of Photoshop
Photoshop no longer offers SVG in Export As, so the usual route is File › Export › Paths to Illustrator. It saves your path as an .ai file that you can open in Illustrator and save as SVG, EPS or PDF. If you don’t have Illustrator, a converter that reads PNGs directly is quicker (see below).
Where does this method fall short?
- One colour at a time. A path is just an outline; colour logos need one path per colour, lined up by hand.
- Selections follow pixels. Soft, blurry or JPEG-compressed edges give bumpy paths, and straight lines rarely come out perfectly straight.
- No SVG export. You need a second app to finish the job.
Is there a faster way?
Vectacle traces the whole picture at once, every colour included, and gives you an SVG straight away. It fits straight lines and arcs as real geometry, merges JPEG noise, keeps smooth gradients as true SVG gradients, and can remove the background. It’s free, and your image isn’t stored.
| Photoshop | Illustrator | Vectacle | |
|---|---|---|---|
| Automatic tracing | No (selection → path) | Yes (Image Trace) | Yes |
| Several colours at once | No | Yes | Yes |
| Saves SVG directly | No | Yes | Yes |
| Cost | Adobe subscription | Adobe subscription | Free while new |
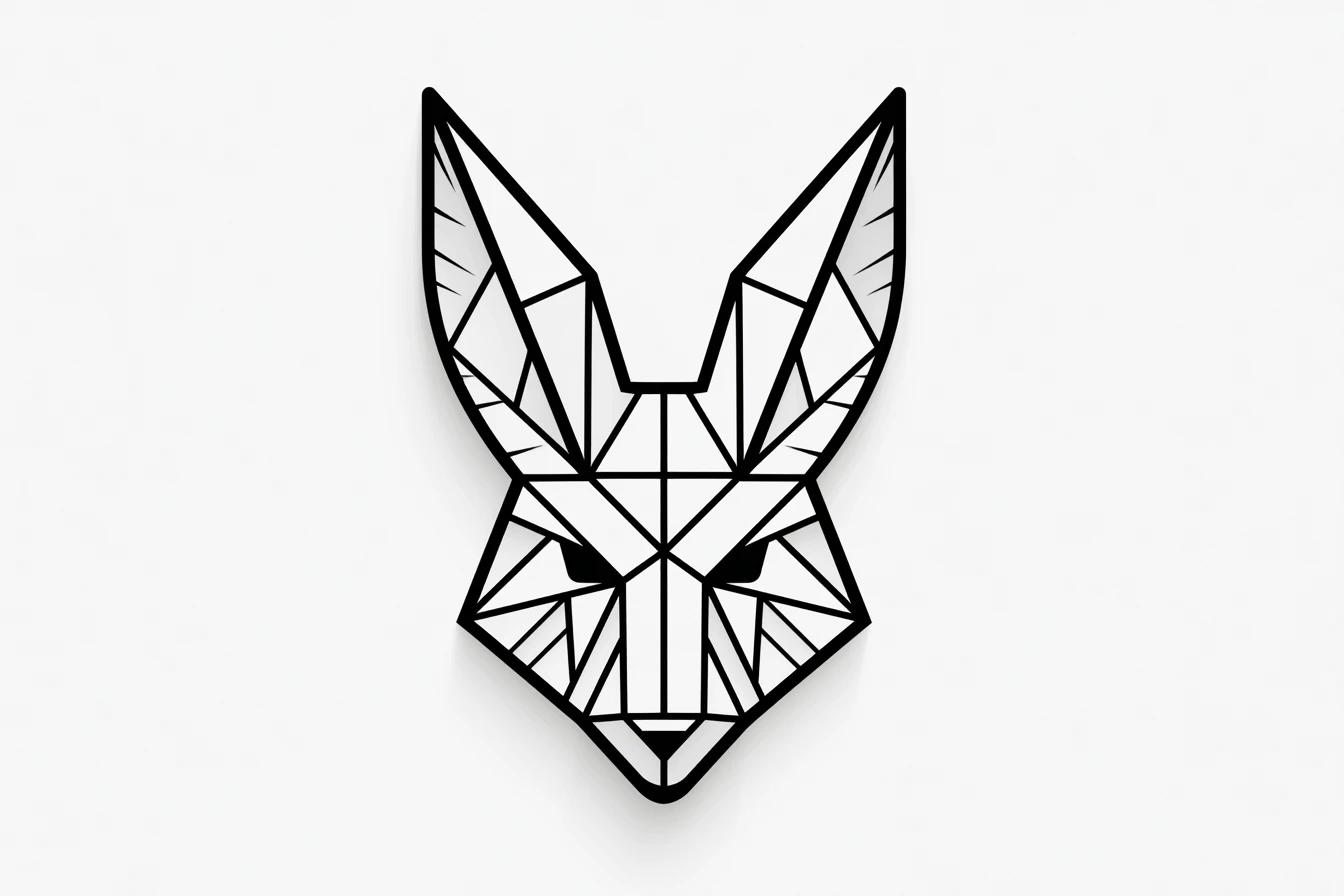
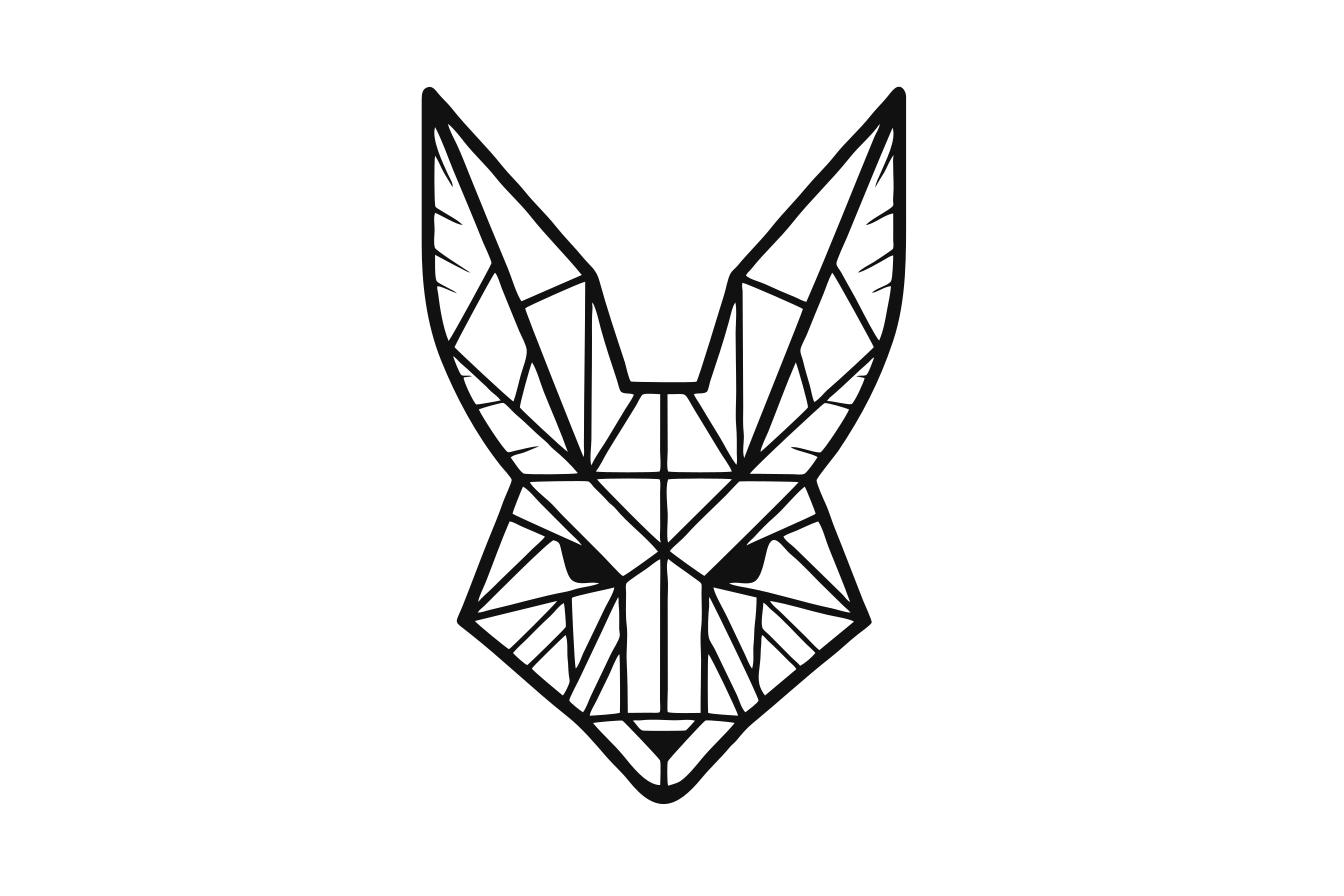
Prefer Adobe’s own tracer? See how to vectorize an image in Illustrator.
Starting from a scan in a PDF? PDF to SVG lets you pick the page, then traces it with the Vectacle converter.
Questions
Does Photoshop have Image Trace?
No. Image Trace is an Illustrator feature. In Photoshop you build vector paths from a selection, which works for simple one-colour shapes.
Can Photoshop save an SVG?
Not reliably. Current Photoshop versions don’t offer SVG in Export As. Export the paths to Illustrator (File › Export › Paths to Illustrator) or use a dedicated converter.
What tolerance should I use for Make Work Path?
Around 1.0 to 2.0 pixels. Lower values follow every pixel and make bumpy paths; higher values smooth more but can round off corners.
Sources: Adobe Help: Convert between paths and selection borders