Convert the picture with Clip art / stickers and Remove background on, check the outlines at full zoom, add a sticker border, then download a transparent PNG for Print then Cut. Our 1024-pixel red panda became a 42 KB SVG with 48 shapes in about 10 seconds.
Sticker-style AI pictures are everywhere on Etsy right now, and most of them arrive as a 1024-pixel JPG on a white square. Here is exactly what we did to turn one into a cut-ready sticker, with the real numbers from the run.
What did we start with?
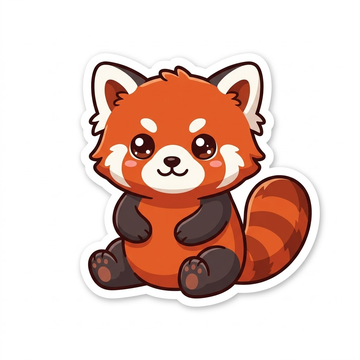
A 1024 × 1024 JPG of a red panda sticker (112 KB), made with an AI image tool: flat colours, dark outlines, a white sticker edge, and a plain white background. It’s close to the ideal input for tracing, apart from soft JPEG edges.
Which settings did we use?
| Setting | Value | Why |
|---|---|---|
| Mode | Clip art / stickers | Flat colours, one layer per colour, no gradients (cutting machines can’t use them) |
| Remove background | On | The white square around the sticker must not print or cut |
| Colours | Auto | Vectacle found the panda’s real colours; no tweaking needed |
| Sticker border | A few steps on the slider | A white edge that becomes the cut line |
What came out?
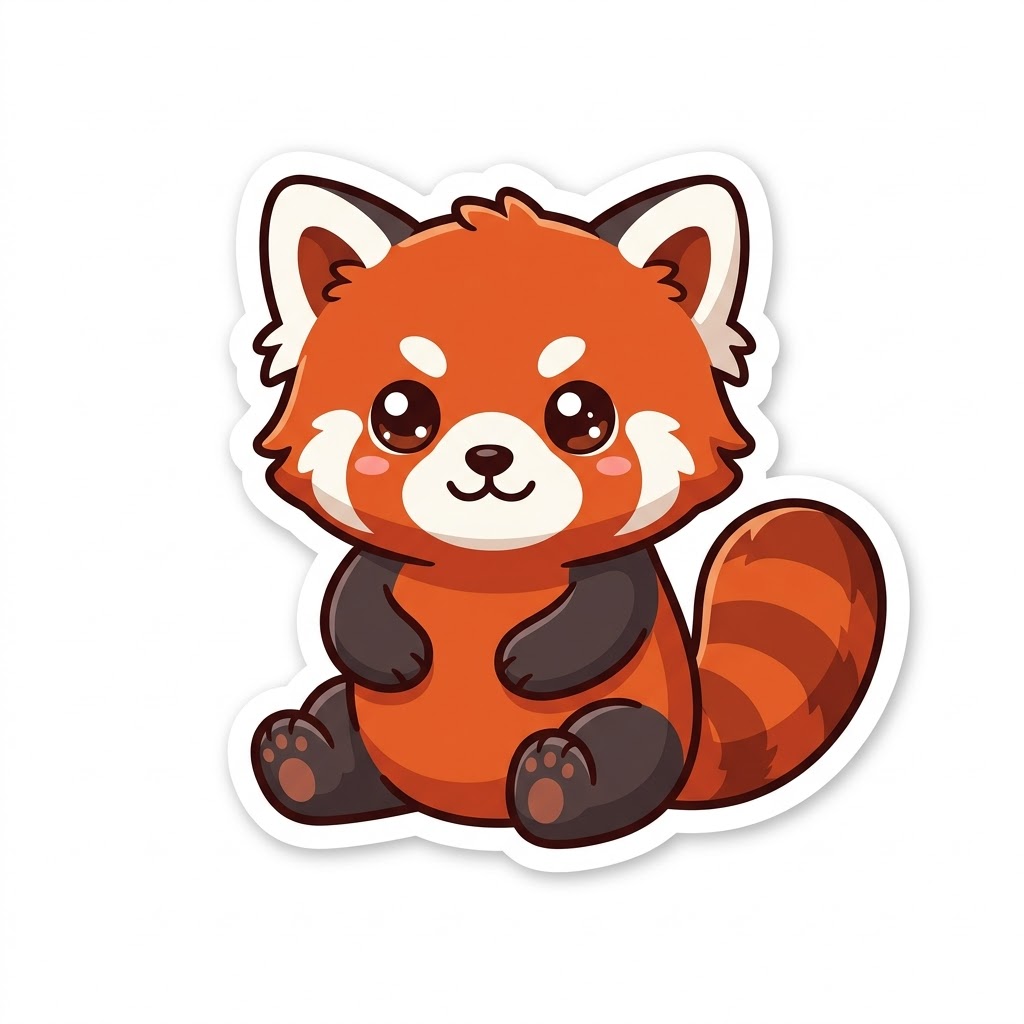
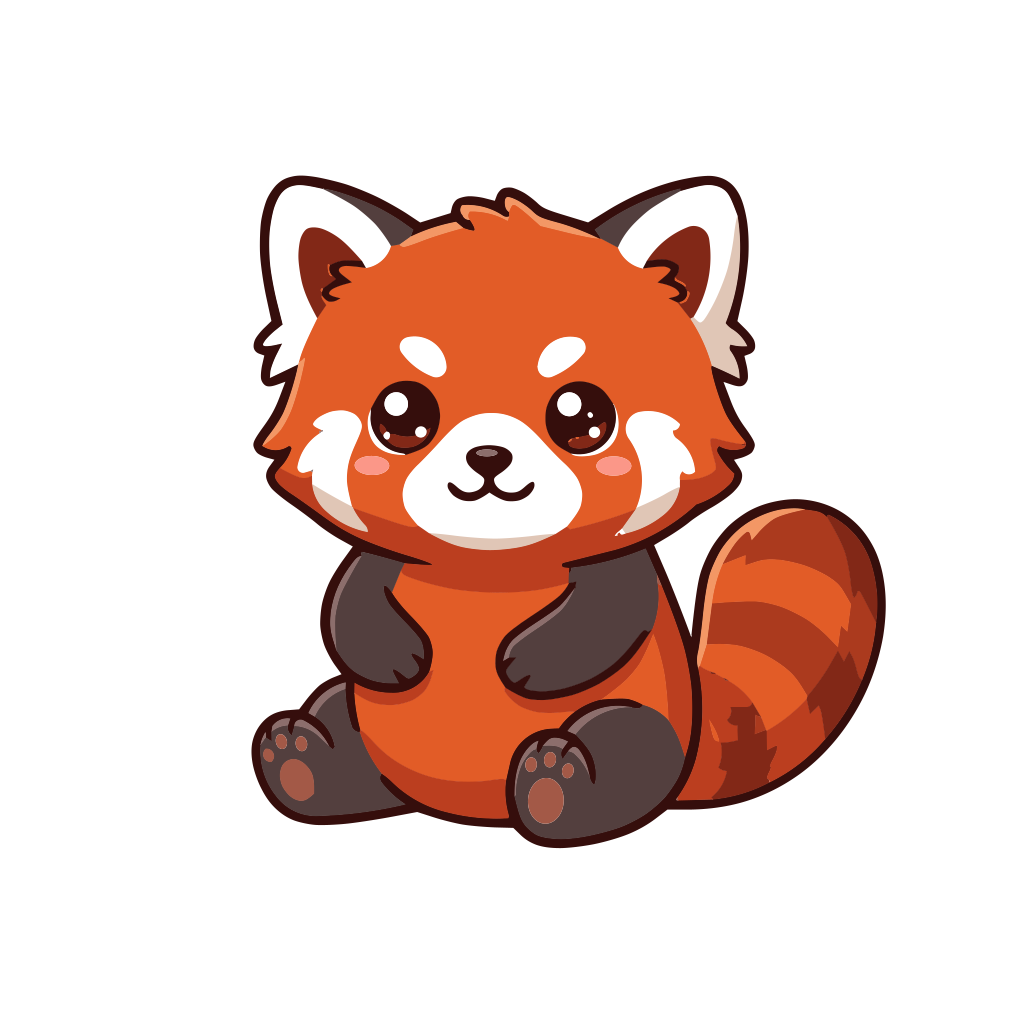
- Time: about 10 seconds on a laptop, including the AI edge-sharpening step.
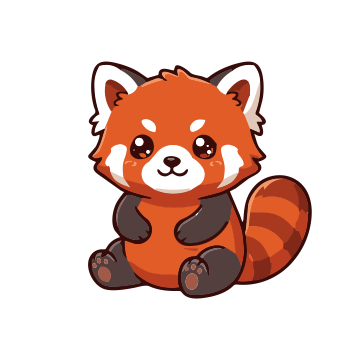
- File: a 42 KB SVG with 48 shapes, smaller than the original JPG.
- Edges: the dark outline came back as smooth curves; the eyes kept their round highlights; the white sticker edge stayed one clean shape.
How do you check a sticker before printing?
Zoom in to 400 % in the side-by-side viewer and look at three places: thin outlines (are they even?), small highlights like eye shines (are they still there?), and the outer edge (is it one smooth line?). If a highlight has merged away, raise the colour count one step and look again.
How do you get it into Print then Cut?
- Type the sticker width in inches.
- Download the PNG (transparent background) for printing, or the SVG if you want to edit it first.
- In Cricut Design Space (design.cricut.com), upload it and choose Print then Cut; in Silhouette Studio, open it and trace the outer edge.
Uploading an SVG to Design Space step by step is in this guide.
Printing a batch? SVG nesting fits your stickers tightly on a sheet.
Questions
Why convert to SVG if Print then Cut prints a picture anyway?
Because the cut line comes from the edge of the picture. A soft, blurry edge gives a wobbly cut line; a clean vector edge gives a smooth one. You also get a sharp print at any sticker size.
What size should a Print then Cut sticker be?
Your machine and software set the maximum printable area, so check it in Design Space or Silhouette Studio. Set the width in inches before downloading so the file arrives at the right size.
Can I sell stickers made from AI pictures?
That depends on the AI tool’s terms and the law where you sell. The files you make with Vectacle are yours; the rights to the artwork are a separate question.