PNGJPGWebPSVG
Make an SVG for Cricut from any picture
Turn a PNG or JPG into a clean cut file for Cricut Design Space: smooth edges, no stray specks, and the size set in inches before you download.
- Cut files for Cricut & Silhouette
- Real gradients
- Crisp small text
- Nothing is stored


- Upscaling small image
- Reading colours
- Sharpening edges (AI)
- Tracing shapes
- Smoothing curves
How to make a Cricut SVG from a PNG
- Drop your PNG or JPG into the box above. Logo / 1 colour is already selected for a single cut layer.
- Check the cut lines. Zoom in: thin parts and small gaps are where weeding gets hard. Move the threshold slider if parts merge or vanish.
- Type the width in inches you want on your project.
- Download the SVG.
- In Cricut Design Space, click Upload, then Upload Image, choose the SVG and upload it. Select it, click Add to Canvas, and it’s ready to cut.
Single colour or layered vinyl
One colour: decals, HTV shirts, stencils and paper cuts need one clean shape. Logo / 1 colour turns your picture into exactly that, with no hidden background box and no tiny specks that the blade would try to cut.
Several colours: choose Clip art / stickers. Every colour becomes its own layer in Design Space, so you can cut each vinyl colour separately and stack them. Fewer colours means fewer layers to weed. Set the colour slider to what your design really needs.
Print then Cut: keep the colours and switch on Remove background, then flatten the layers in Design Space before printing.
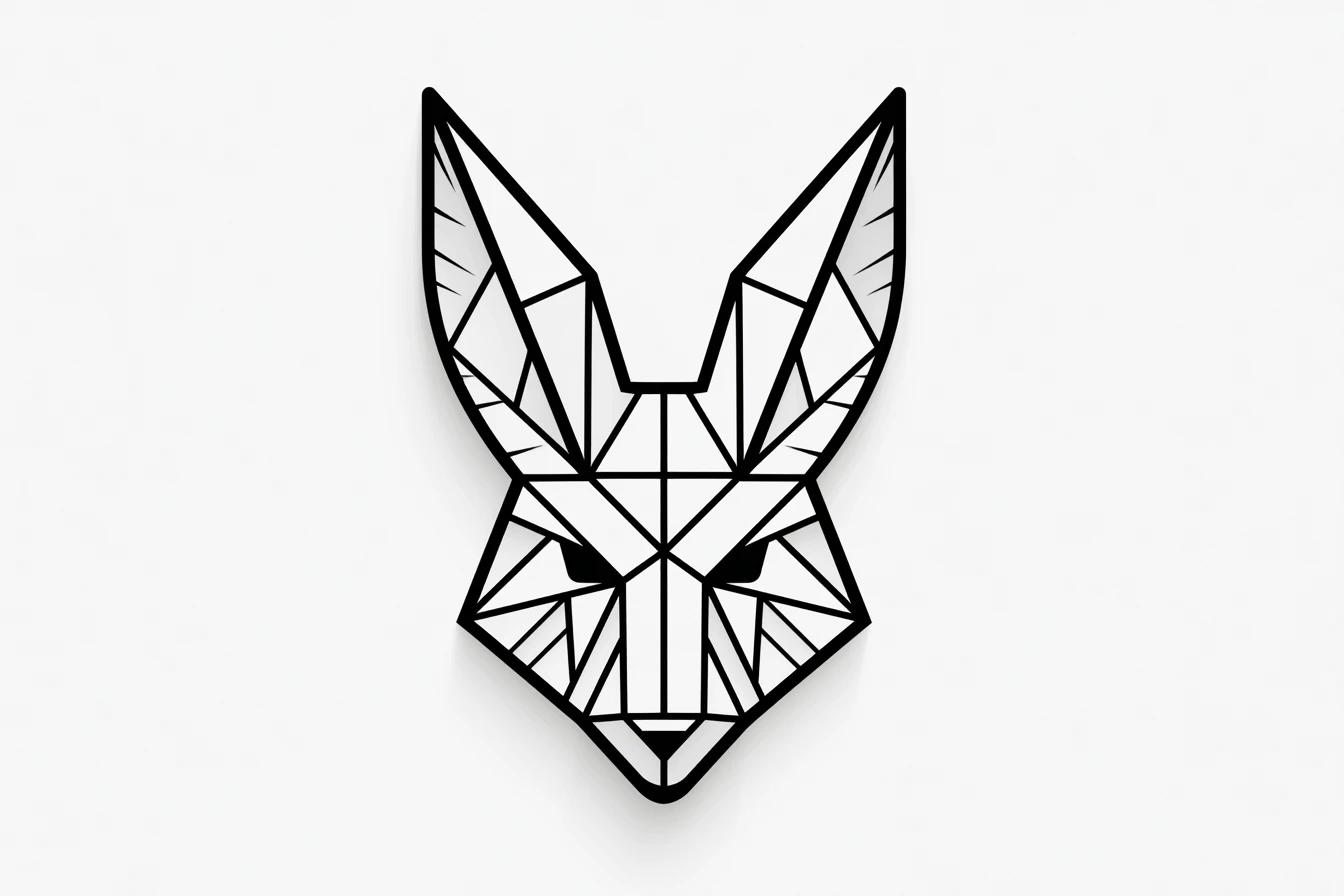
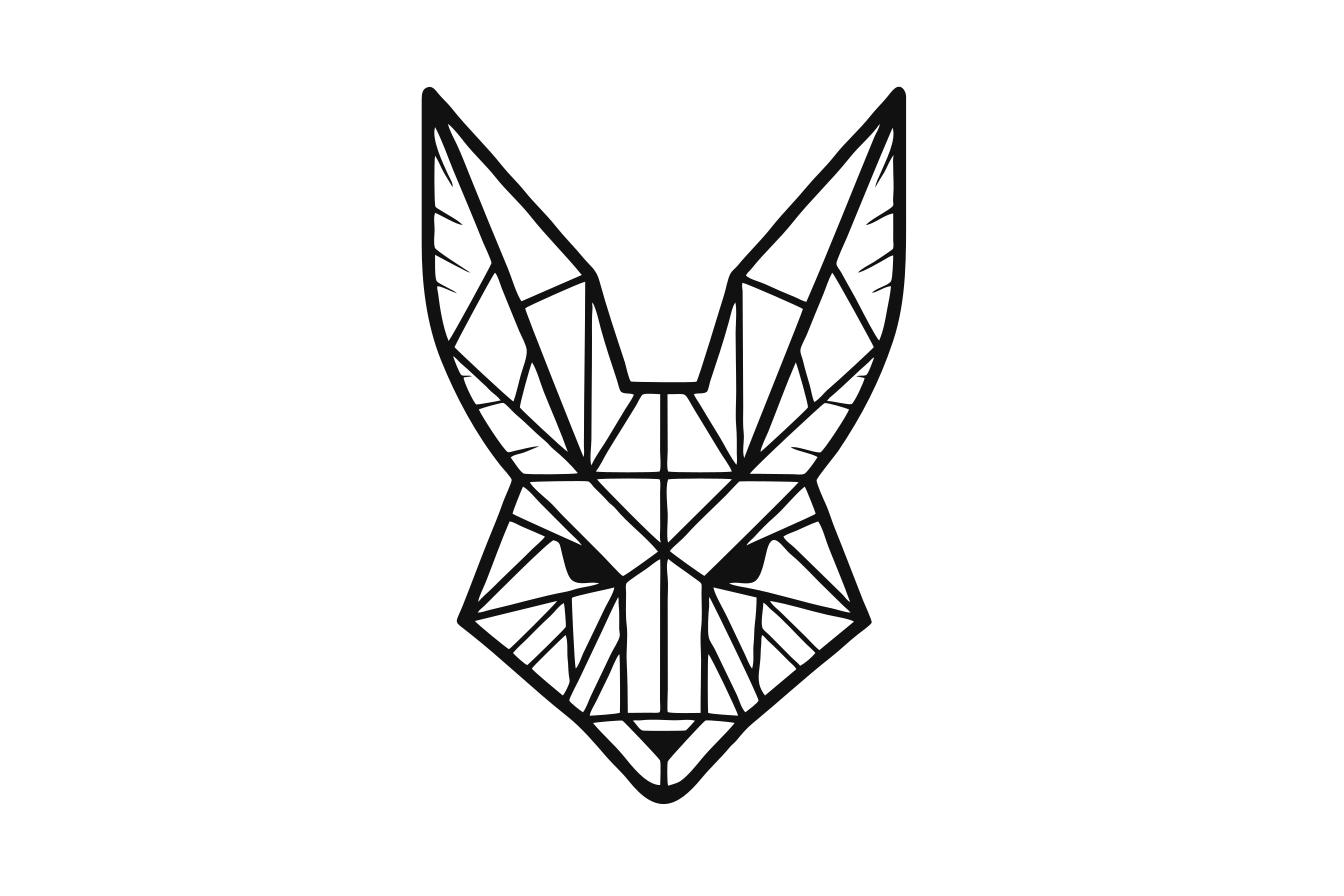
Cut-ready examples



Tips for clean cuts
Start from the biggest, sharpest version of the picture you have. Very thin lines (under about 1 mm at your final size) can tear when you weed, so check them at full zoom. If a design has text, keep it large enough for your material: small lettering is easier on cardstock than on glitter vinyl.
Guides and articles
How to upload an SVG to Cricut Design Space
Upload an SVG to Cricut Design Space on a computer, iPhone, iPad or Android, add it at the right size, and fix the usual problems step by step.
GuideHow to make an SVG file for Cricut
Turn a PNG or JPG into a Cricut SVG cut file: single-colour decals, layered vinyl and Print then Cut, sized in inches, with tips for easy weeding.
TipsHow to make a layered vinyl SVG from one picture
Turn a colourful picture into a layered SVG for Cricut or Silhouette: one layer per vinyl colour, fewer layers to weed, and how to merge colours.
Questions
Will the SVG open in Cricut Design Space?
Yes. Upload it as an image in Design Space and it comes in as a cut image. A one-colour SVG becomes a single layer; a multi-colour SVG gets one layer per colour.
Which mode should I use for vinyl?
Logo / 1 colour for a single-colour decal or HTV design. Use Clip art / stickers for layered vinyl, where every colour becomes its own layer.
How do I get the right size?
Type the width in inches before downloading. The SVG then opens in Design Space at that size, so you don’t have to resize it there.
Can I cut the light parts instead of the dark ones?
Yes. In Logo / 1 colour, tick Invert to cut the light parts of the image.
Is it really free?
Yes. Converting and downloading are free while Vectacle is new, and there is no sign-up. Your image isn’t stored.